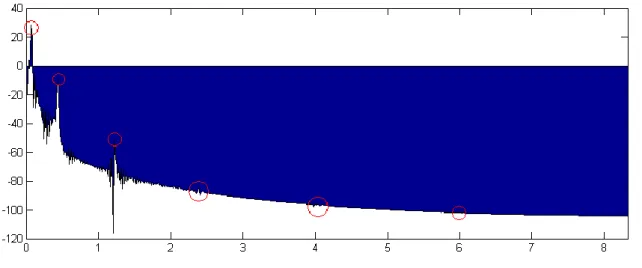
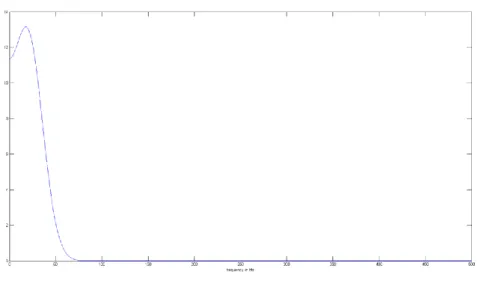
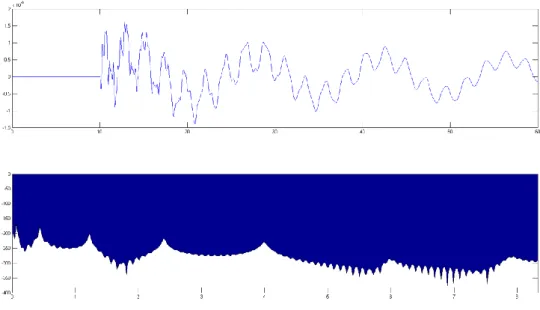
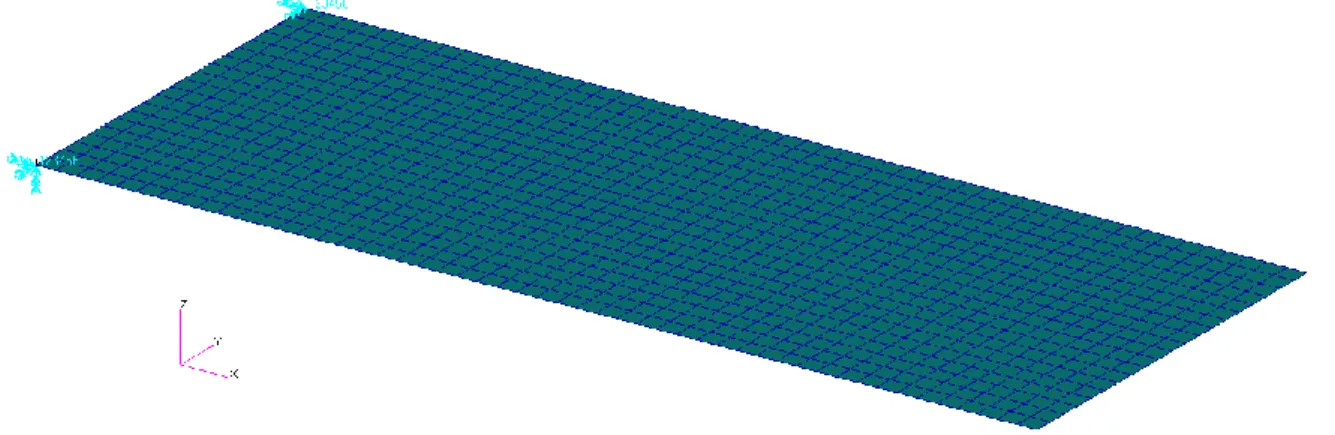
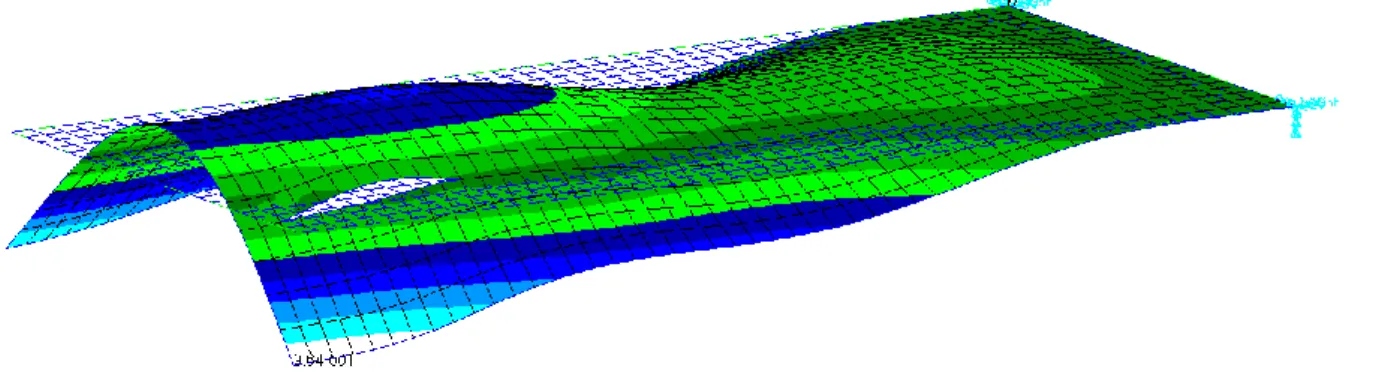
Institut Supérieur de l’Aéronautique et de l’Espace Operational Modal Analysis: Development of a structural identification tool for accelerometric data of a flexible wing
Texte intégral
Figure

Documents relatifs
Apart from discrete groups and duals of compact groups, the first test examples for a quantum Property RD should be the free quantum groups introduced by Wang [6], which are
Thanks to a set of mother wavelets depending on one(two) parameter(s), the desired time or frequency localiza- tion can be yet obtained by modifying its(their) value(s). In [8],
The added mass effects on a NACA0009 hydrofoil under cavitation conditions determined in a cavitation tunnel have been numerically simulated using finite element method
A technique has been developed to estimate the three dimensional character of the undersea ambient noise field from beam noise data acquired by a horizontal
Numerical simulations, indexed by the mean value of the cubic spring random stiffness, are conducted and show that this random cubic nonlinearity induces an increase in the level
Ce projet comprend 3 objectifs plus précis : (1) le développement d'une technique de priorisation des tests basée sur les cas d ' utilisation (CU), (2)
For the first time, the method of fungi ecology, PCR-DGGE was used as a new traceability analytical tool to identify the geographical origin of tropical timber from four
Our research showed that an estimated quarter of a million people in Glasgow (84 000 homes) and a very conservative estimate of 10 million people nation- wide, shared our
